Customization Services
 Photo
Retouching Services
Photo
Retouching Services Live
Support
Live
Support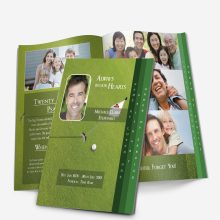
When a loved one passes, time moves differently. Between phone calls, travel plans, and final arrangements, it’s easy to realize—often at the last minute—that printed funeral programs still need to be done. The service may be tomorrow morning, and panic sets in.
Take a breath. Even if you only have a few hours, it’s completely possible to create and print beautiful, professional-looking programs tonight. You don’t need expensive design software or a print designer on standby—just the right Microsoft Word template and a clear plan.
This guide walks you through every step, from downloading a pre-formatted template to printing it locally at places like Staples, FedEx Office, or your neighborhood print shop. By the time you finish reading, you’ll know exactly what to do to have your programs in hand before sunrise.
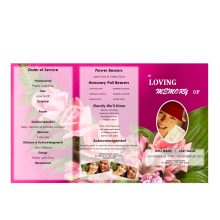
Step 1 — Download a Ready-to-Print Funeral Program Template
When every minute matters, the best choice is a professionally formatted Word template. Trying to build a layout from scratch can take hours you don’t have—and small alignment issues can multiply once it’s time to print.
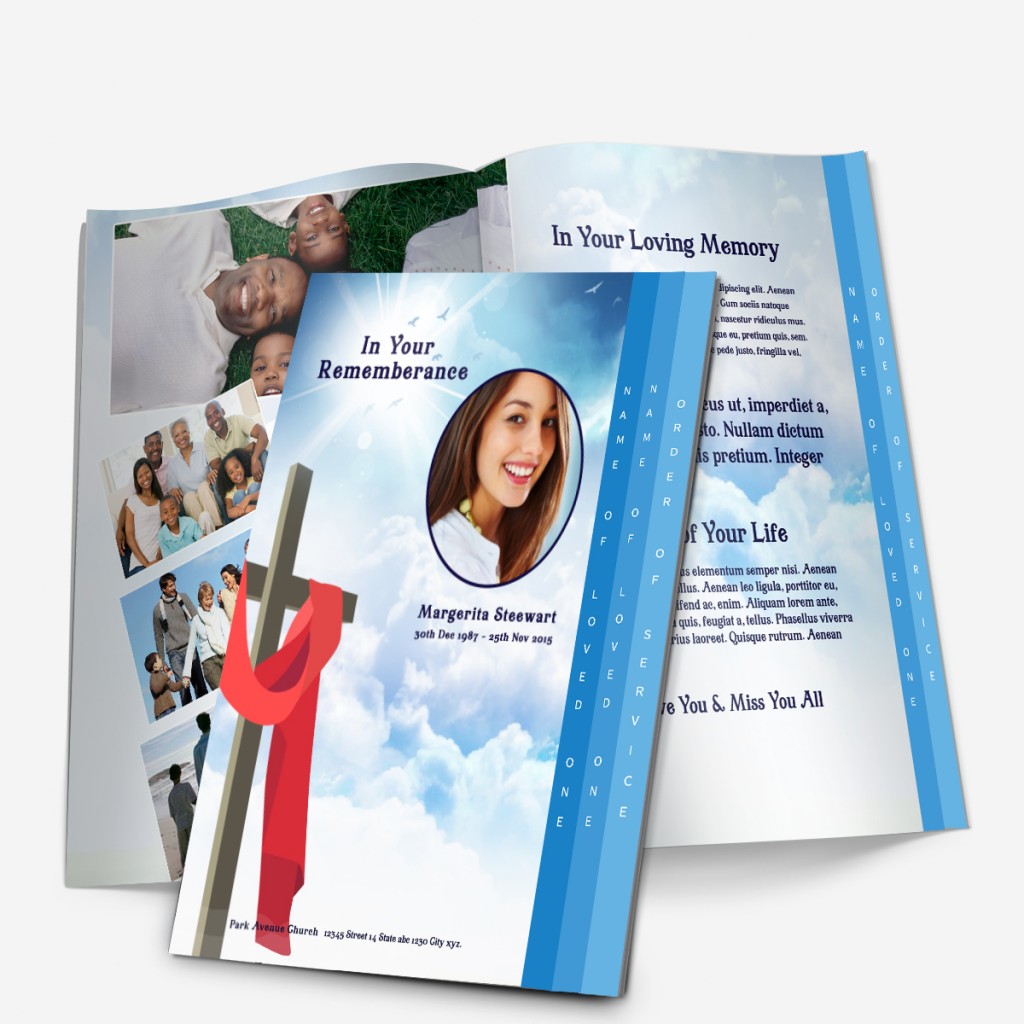
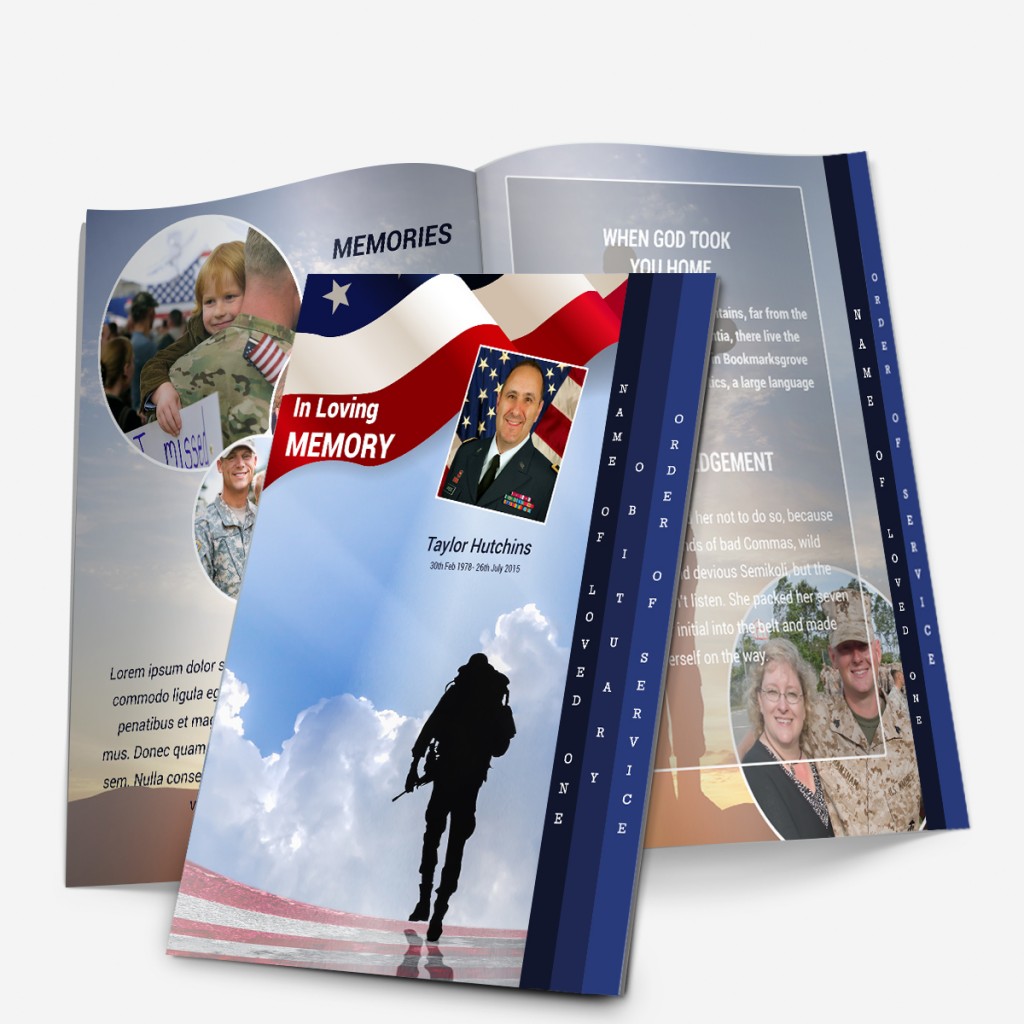
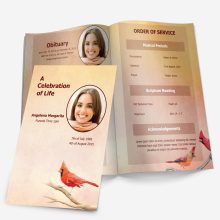
Our templates are already sized, folded, and spaced correctly for standard 8.5 × 11 paper. Each design includes pre-placed photo boxes, headings, and editable text so you can simply replace sample content with your own. There’s no guessing where the photo or poem should go—everything is aligned automatically.
You can also choose among several fold types to match your preference and timeline:
- Single-fold programs — quick to print and fold; ideal for short services.
- Tri-fold brochures — offer extra panels for photos or tributes without extra pages.
- Graduated-fold designs — professional look with tabbed edges to highlight sections.
All templates open instantly in Microsoft Word 2010 or newer on Windows or Mac. You can edit text, replace images, and export to PDF in minutes.
💡 Tip: Always pick a design that reflects your loved one’s spirit rather than focusing on theme trends. Floral, outdoors, or faith-based—each one can be completed quickly when the structure is already built for you.
Once you’ve chosen, download your file directly from our shop. Every template there is print-ready—no extra formatting required.
Step 2 — Insert the Essentials First
When you’re on a tight deadline, simplicity wins. You can always expand the program later, but right now focus on the details that matter most:
- Full name of the deceased
- Birth and passing dates
- Order of service or schedule
- One main photo
- Short poem, quote, or scripture (optional)
Leave design flourishes, photo collages, or long tributes for a later revision if time allows. Right now, your goal is to have something beautiful and accurate for the service tomorrow.
Keep Your Layout Clean
Try not to resize or move boxes inside the template; they’re aligned for printing margins already. Simply type or paste over the placeholder text.
Quick Photo Fixes
If your chosen image is slightly faded or cropped, you can brighten or resize it using Word’s built-in “Picture Format” tools. For heavily damaged or low-resolution photos, consider using our professional photo restoration service to improve clarity before printing.
“Even a single, well-chosen photo can say more than pages of text. Focus on getting one image right rather than rushing several.”
Step 3 — Export to PDF for Professional Printing
Once your program looks complete in Word, the next step is to lock in the design so it prints exactly as you see it. The safest way to do this is by exporting your file as a PDF.
Why PDF Is Essential
When you open your template in Word, spacing, fonts, and image placement depend on your computer’s software and printer settings. But the moment you convert the file to a PDF, every margin, text box, and picture becomes “frozen.” That means the print shop will see precisely what you see—no font changes, no words jumping to the next page.
Print centers, from Staples to FedEx Office, overwhelmingly prefer PDF files because they’re ready to print without editing. A PDF also prevents accidental text edits if someone at the counter opens the file.
How to Save Your File as a PDF
- In Word, click File → Save As.
- Choose the folder where you want to save it.
- Under Save as type, select PDF (.pdf).
- Click Options, and under “Optimize for,” choose Best for printing.
- Give your file a clear name, such as
Johnson_MemorialProgram.pdf.
Before closing Word, reopen your new PDF and quickly scroll through each page. Check for any spacing shifts, missing photos, or cut-off text near the edges. If anything looks off, fix it in Word and re-export.
💡 Tip: If your printer says the file is too large to email, you can reduce file size by lowering image resolution to 220 dpi — still sharp enough for print.
Step 4 — Print Locally the Same Day
With your PDF ready, it’s time to get copies printed. Fortunately, most local print centers can produce folded color programs within a few hours—even overnight if you drop files off before closing.
Where to Go
- Staples Print & Marketing Center – Many stores are open until 9 p.m. and offer same-day pickup for PDFs emailed or uploaded online.
- FedEx Office – Most locations run 24 hours and can print, fold, and staple overnight.
- Office Depot / OfficeMax – Select stores provide evening rush printing; bring a USB drive just in case.
- Local funeral home or church office – Many have small copiers and will print limited quantities for families in urgent situations.
You don’t need to mention “overnight delivery” or shipping—this process is local only. Everything can be printed and picked up the same day.
What to Bring or Send
- Your PDF file on a USB drive or attached to an email.
- A sample page printout (if possible) to show how it should look folded.
- Your preferred paper choice (if you already purchased it).
If you’re using a chain print center, walk in and say:
“I have a double-sided PDF for an 8.5 × 11 funeral program. Could you print it on white or light cardstock and fold each copy in half?”
This quick explanation gives the clerk all the information they need—paper size, color printing, and folding.
Recommended Settings to Request
- Paper Size: 8.5 × 11 inches (standard)
- Paper Type: 100 lb text or 32 lb premium bond (for a sturdy feel)
- Color: Full color on both sides (if photos are included)
- Finishing: Fold in half (single-fold) or tri-fold as specified in your template
If your program is longer, you can ask for two-sheet booklets stapled in the middle.
⚙️ Pro tip: Hand the clerk your PDF on a USB drive rather than a Word file—this avoids formatting changes from computer to computer.
Time-Saving Checklist Before You Leave the Counter
- ✅ File is named clearly (e.g.,
Johnson_MemorialProgram.pdf) - ✅ Clerk confirms color printing on both sides
- ✅ Fold type and paper weight discussed
- ✅ Quantity confirmed (plus 10–15 extras)
- ✅ You print one proof copy first
Even when the day feels rushed, remember: printing locally keeps you in control. You’ll be able to check the proof, approve colors, and leave with finished programs tonight—ready to honor your loved one beautifully and on time.
Step 5 — Check a Sample Before Printing All Copies
Once the print center has your file ready, never skip the proof copy.
Even the most experienced designers double-check a printed sample before approving the full batch. It only takes a few minutes and can prevent dozens of wasted prints or a costly re-run.
Why a Proof Is So Important
Screens can be deceiving. A color that looks soft on your monitor may appear darker in print, and small font shifts can occur near folded edges. Checking a sample gives you the chance to catch small issues while there’s still time to fix them.
What to Look for on Your Sample Copy
- Names and dates: Confirm spelling carefully — a single typo is the most common mistake families regret later.
- Margins and folds: Ensure that no text runs too close to the edge or fold line.
- Photos: Check that images print clear and centered, not stretched or pixelated.
- Color consistency: Skin tones and floral backgrounds should look natural, not too blue or green.
- Panel order: For folded or tri-fold programs, make sure the inside and outside panels appear in the correct sequence once folded.
If you notice an error, pause before approving the print run.
Ask the print associate if you can email a corrected PDF—they can usually reprint immediately. If time is critical, correct only the essential text (like a name or date) and re-export your file from Word.
💡 Quick tip: Use a pen to mark changes directly on your proof copy. It’s faster than trying to explain edits verbally.
How Many Copies to Approve
Once everything looks perfect, confirm the total number of copies you need.
A simple formula:
- Guests expected at service + 10% (for extras) + 5–10 for family keepsakes.
If you’re unsure, printing 25% more is safer than risking too few. Many families like to mail or frame a few later.
Step 6 — Assemble and Finish
Now that your programs are printed and proofed, the final touch is proper assembly. This step gives your programs a polished look and makes handling easier during the service.
Folding and Handling
Most print centers can fold each copy for you—be sure to confirm this service before leaving.
If you’re folding at home:
- Lay the stack neatly on a clean, flat surface.
- Fold each program carefully down the center crease (use the back of a spoon or a ruler edge for crisp folds).
- Align edges evenly so they stack flat.
⚙️ Pro tip: If programs were printed on heavy cardstock, fold them while they’re still slightly warm from the printer. It helps prevent cracks along the crease.
Storing and Transporting
- Store folded programs in a flat box or envelope to avoid bending corners.
- Keep them in a cool, dry place overnight if the service is the next morning.
- If you printed early, place a sheet of tissue paper between every 20 copies to prevent ink transfer in humid environments.
Optional Finishing Touches
If you have an extra 10–15 minutes:
- Add a ribbon tie or small paper clip to hold multiple pages together.
- Slip one into a protective sleeve or folder for the officiant.
- Place the stack in a basket or tray near the chapel entrance for guests.
These small touches take almost no time but give your printed programs a calm, organized presentation.
Reassurance for the Last-Minute Rush
If you’re finishing this process late at night, remember — you’ve already accomplished the hardest part.
You turned a few digital photos and details into something tangible that guests can hold, read, and keep as a memory. That alone brings immense comfort to everyone attending.
And because you used a properly formatted Microsoft Word template, you can easily print more copies tomorrow if unexpected guests arrive.
“Even in a rush, a well-designed program reflects love, not perfection. What matters is that it’s printed in time for the people who need it most.”
Step 7 — Final Review and Peace of Mind
The programs are printed, folded, and ready. Before resting for the night, take one final moment to review your finished stack. Hold a copy in your hands and read through it slowly, as if you were a guest arriving at the service.
Does everything feel balanced and complete? Is the tone calm, respectful, and true to your loved one’s memory? If so, you’ve accomplished something meaningful under incredible time pressure.
Even when circumstances force last-minute preparation, a thoughtfully designed funeral program shows genuine care. It guides attendees through the service, honors memories, and becomes a keepsake for years to come.
Step 8 — How to Avoid Last-Minute Stress in the Future
After the service, save your final file (both the Word document and the exported PDF) to a safe folder. You may want to:
- Keep a copy for family archives or memory books.
- Reuse the layout for future family memorials.
- Share it digitally with relatives who couldn’t attend.
Many families who experience the overnight rush later decide to prepare a blank “template folder” ahead of time—complete with family details, hymns, and photos—so future updates are simple and fast.
You can always revisit our shop to download coordinated templates for prayer cards, bookmarks, or additional printed keepsakes that match your program’s design.
Closing Thoughts
If you found this article because you’re racing against time, take comfort: you can still create something beautiful tonight.
You don’t need a designer, and you don’t need to settle for low-quality prints.
Using a professionally formatted Word template and your local print center, you can walk into tomorrow’s service with programs that look calm, intentional, and crafted with care.
To get started, explore our editable templates today. Each is ready for immediate download, simple to customize, and perfectly sized for same-day printing.
👉 Download a funeral program template from our shop and print it locally tonight.
Frequently Asked Questions
Q1. Can I really get funeral programs printed overnight?
Yes. By using a ready-to-edit Word template and exporting it to PDF, you can print locally the same night at FedEx, Staples, or any 24-hour print center.
Q2. What file type should I bring to the print shop?
Always bring a PDF file. It preserves formatting and ensures the print looks exactly like your on-screen version.
Q3. Do I need to use color printing?
Not necessarily. Black and white prints can look elegant if you choose high-contrast photos and thicker paper stock.
Q4. What paper type is best for funeral programs?
Use 32 lb paper or light cardstock for a sturdy yet foldable finish. Heavier stock adds quality without slowing printing.
Q5. How can I fold the programs neatly at home?
Use a ruler edge or the back of a spoon for a clean crease. Fold while the paper is still warm from printing to avoid cracking.
Q6. How many copies should I print?
Estimate guest count plus 10–15 extra for keepsakes and last-minute arrivals.
Q7. What if my photos look blurry?
Use Word’s “Picture Format” tools for quick fixes, or visit our photo restoration page for professional help.
Q8. What if I make a typo after printing?
Correct the error in Word, re-export to PDF, and reprint only the needed pages. Most print shops can redo a few copies in minutes.
Q9. Can I use these templates for memorials or celebrations of life?
Yes. Every design in our shop works for funerals, memorials, or life celebration services.
Q10. Is same-day printing available everywhere?
Most cities have at least one 24-hour print center. Always call ahead to confirm hours and bring your USB drive for faster service.